
The world of creative expression is vast, but few mediums offer the luminous, glass-like finish of epoxy resin. Its versatility has captivated artists and creators, making the use of epoxy resin in art a rapidly growing trend. From mesmerizing ocean scenes to geode-inspired coasters and vibrant abstract paintings, the possibilities are nearly endless. However, diving into this medium can feel intimidating. Success hinges on understanding the material’s unique properties and following specific steps. This comprehensive guide will walk you through everything you need to know about working with epoxy resin, ensuring your projects are not just successful, but truly stunning. We will cover the fundamentals, from selecting the right materials to advanced techniques, providing a solid foundation for your creative journey.
Embarking on epoxy resin art for beginners can be an incredibly rewarding experience. The process of mixing two liquids and watching them transform into a solid, glossy work of art is magical. The key is preparation and patience. Understanding the nuances of epoxy resin use is crucial for achieving that professional-quality finish you see in galleries and online. This guide is designed to demystify the process, offering practical tips that will help you avoid common pitfalls and unleash your creative potential. We’ll explore how to properly prepare your workspace, choose the best epoxy resin for resin art, and master the techniques that will elevate your creations. The journey of using epoxy resin in art starts with a single pour, and with the right knowledge, each project will be a step toward mastery.
Understanding the Fundamentals Of Resin Art
Before you can create beautiful art with epoxy resin, it is essential to understand what you are working with. Epoxy resin is a two-part system consisting of a resin and a hardener. When these two components are mixed in the correct ratio, a chemical reaction occurs, causing the mixture to cure from a liquid into a hard, durable solid. This process, known as curing, generates heat and is irreversible. The unique properties of epoxy resin in art make it ideal for creating depth, preserving objects, and achieving a high-gloss, protective finish.
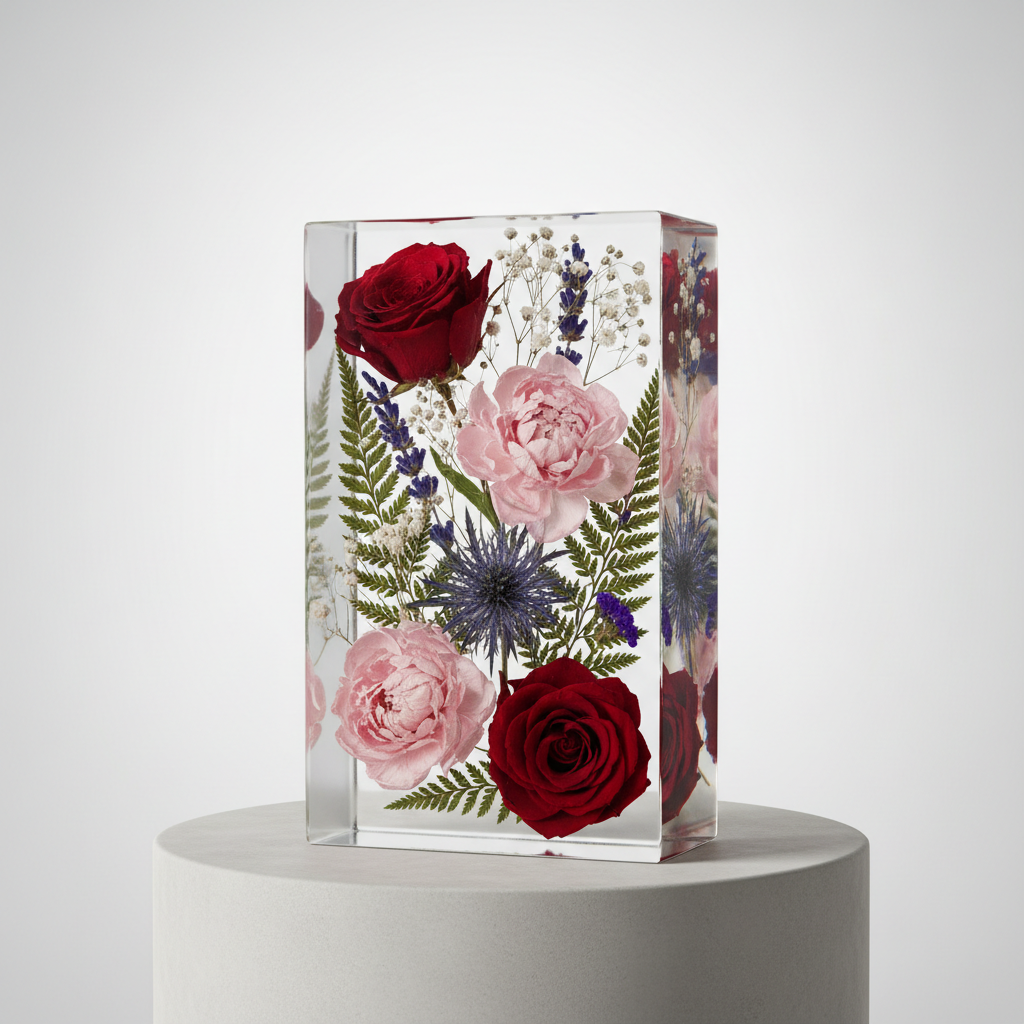
Not all epoxies are created equal. They are formulated for different purposes, which is why selecting the right type is a critical first step. There are casting resins and coating resins. Casting resins are thinner, designed to be poured in thick layers, and typically have a longer curing time. They are perfect for projects like embedding flowers in a block or creating an epoxy resin coffee table. Coating resins, on the other hand, are thicker and self-level to about 1/8 inch. They are ideal for sealing paintings, creating shallow molds, or coating countertops. Choosing the correct epoxy resin for resin art based on your project’s needs is fundamental to success. For beginners, starting with a high-quality, all-purpose art resin is often the best choice, as it offers a good balance of viscosity and curing time, making the initial stages of working with epoxy resin more manageable. The application of epoxy resin in art depends heavily on this initial choice.
Setting Up Your Creative Space with Epoxy
Safety and preparation are non-negotiable aspects of working with epoxy resin. The chemical reaction that cures the resin can release volatile organic compounds (VOCs) into the air. Therefore, your workspace must be well-ventilated. Open windows, use fans to circulate air, or work in a space like a garage with the door open. It’s also crucial to protect yourself by wearing personal protective equipment (PPE). This includes nitrile gloves to protect your skin from irritation, safety glasses to shield your eyes from splashes, and a respirator mask with organic vapor cartridges to avoid inhaling fumes. Taking these precautions ensures a safe and enjoyable creative process.
Your workspace also needs to be protected. Cover your work surface with a plastic sheet or a silicone mat. Epoxy resin will permanently bond to most surfaces, and drips are inevitable. Having a protective layer will save you from a difficult cleanup later. Temperature control is another vital factor. The ideal ambient temperature for curing is typically between 72-78°F (22-25°C). If the room is too cold, the resin may not cure properly, resulting in a soft or sticky finish. If it’s too warm, the curing process might accelerate too quickly, leading to cracks or excessive bubbles. Maintaining a consistent, warm temperature is a professional secret to flawless results. This controlled environment is key to successful epoxy resin use. A well-prepared space makes the experience of creating art with epoxy resin much smoother.
Essential Tools and Materials For Epoxy
Gathering all your supplies before you begin is essential for a stress-free process. Once you start mixing, you’ll be working on a timeline, so having everything within arm’s reach is crucial.
Core Supplies:
- Epoxy Resin for Resin Art: Choose a high-quality resin and hardener kit suitable for your project. Brands like Reziwood offer excellent options for artists.
- Mixing Cups and Sticks: Use graduated mixing cups to ensure precise measurements. Silicone cups are a great reusable option. Use wooden craft sticks or plastic stirrers for mixing.
- Personal Protective Equipment (PPE): Nitrile gloves, safety glasses, and a respirator are must-haves.
- Level Surface: Your artwork must cure on a perfectly level surface to ensure an even coat. Use a bubble level to check your table.
- Substrate or Mold: This is the base for your art, such as a wooden panel, canvas, or a silicone mold.
Tools for Effects:
- Heat Gun or Torch: These are used to remove air bubbles that rise to the surface after pouring. A heat gun is gentler, while a torch provides more intense, direct heat.
- Colorants: Add color with mica powders, alcohol inks, or liquid pigment pastes specifically designed for epoxy resin use.
- Inclusions: You can embed objects like glitter, dried flowers, glass shards, or beads into your work.
Proper preparation is a hallmark of successful epoxy resin art for beginners. Having these tools ready will allow you to focus on the creative aspect without any last-minute scrambling. The correct tools make the difference when using epoxy resin in art.
The Step-by-Step Process to work
With your space prepped and tools gathered, you are ready to begin the exciting process of creating art with epoxy resin. Following these steps carefully will guide you toward a beautiful outcome.
Step 1: Measuring and Mixing
This is the most critical stage of working with epoxy resin. The ratio of resin to hardener must be exact, as specified by the manufacturer (usually 1:1 or 2:1 by volume). Use separate graduated cups to measure each part precisely. Pour the resin and hardener into a larger mixing cup. Scrape the sides of the initial measuring cups to ensure you get every last drop.
Begin mixing slowly and deliberately for at least 3-5 minutes. Scrape the bottom and sides of the mixing cup frequently to ensure the two parts are thoroughly incorporated. Inadequately mixed resin will result in sticky spots that will never cure. You’ll know it’s well-mixed when the liquid is clear and free of streaks. Be mindful not to mix too vigorously, as this can introduce excess air bubbles. Proper mixing is fundamental for the successful application of epoxy resin in art.
Step 2: Adding Color and Effects
Once the epoxy is thoroughly mixed, you can divide it into smaller cups to add your chosen colorants. This is where your creativity truly comes to life. Add a small amount of pigment or mica powder at a time and mix until you achieve the desired color. A little goes a long way, and adding too much can sometimes inhibit the curing process. Experimenting with color is a joyful part of the journey. This is a crucial step in the use of epoxy resin in art to create visual impact.
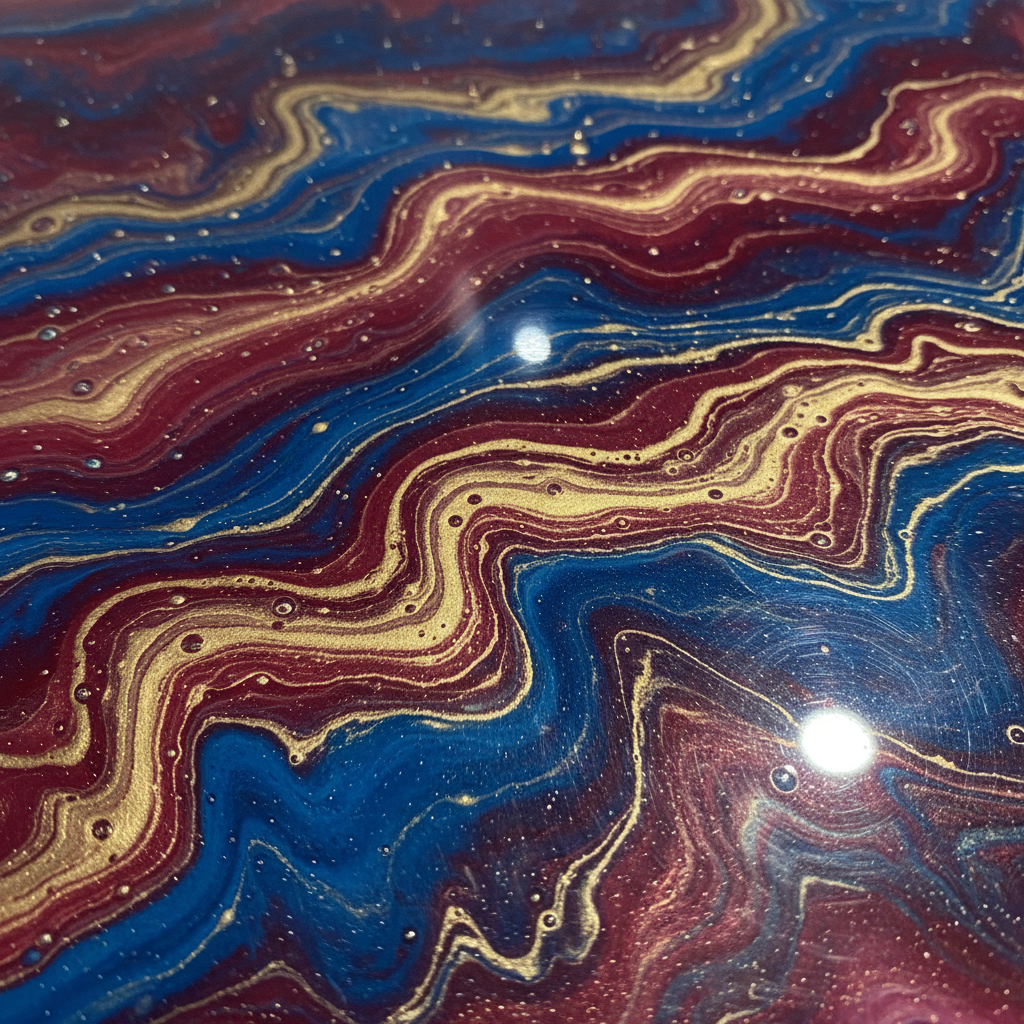
Step 3: The Pouring Technique
Now for the pour. You can pour the colors individually onto your surface or try a “dirty pour” by layering different colors in a single cup and then pouring it all at once for a marbled effect. The way you pour the resin will define the final look of your piece. Let gravity do the work, and use your stir stick or a gloved hand to guide the resin to the edges of your surface. The self-leveling nature of epoxy resin for resin art helps create a smooth, even layer. This phase is central to making beautiful art with epoxy resin.
Step 4: Removing Bubbles and Curing
After pouring, you will notice small air bubbles rising to the surface. To remove them, hold a heat gun or torch a few inches above the surface and move it back and forth in a sweeping motion. Do not linger in one spot, as this can scorch the resin. The heat will pop the bubbles, leaving you with a crystal-clear finish.Once the bubbles are gone, cover your piece with a dust-free cover (like a large cardboard box) to protect it from dust, hair, or insects while it cures. The curing time varies by brand but typically takes 24-72 hours to become hard to the touch. A full, hard cure can take up to 30 days. Patience during this phase is paramount for a professional result. This is the final stage of working with epoxy resin. The correct use of epoxy resin in art often comes down to this finishing touch.
Advanced Techniques and Creative Ideas
Once you have mastered the basics, you can explore more advanced techniques. The versatility of epoxy resin in art allows for endless innovation.
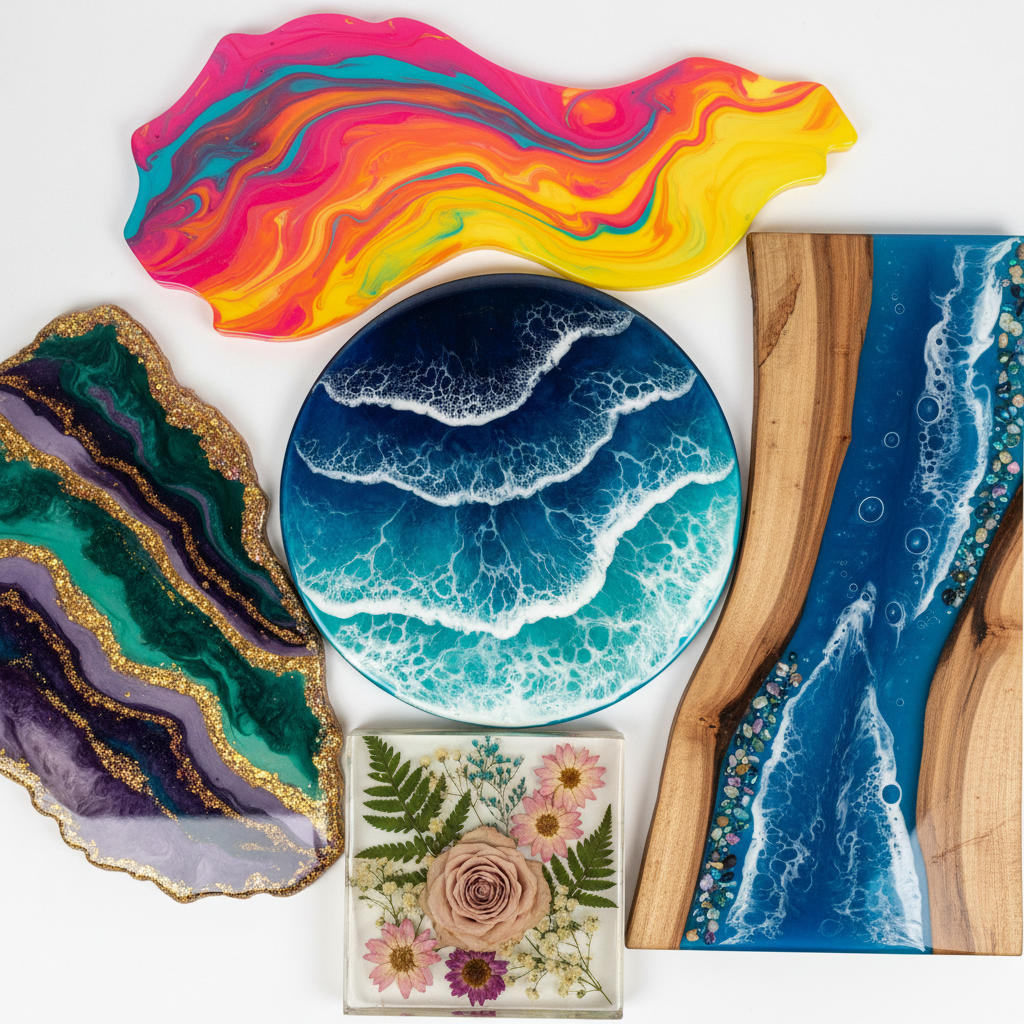
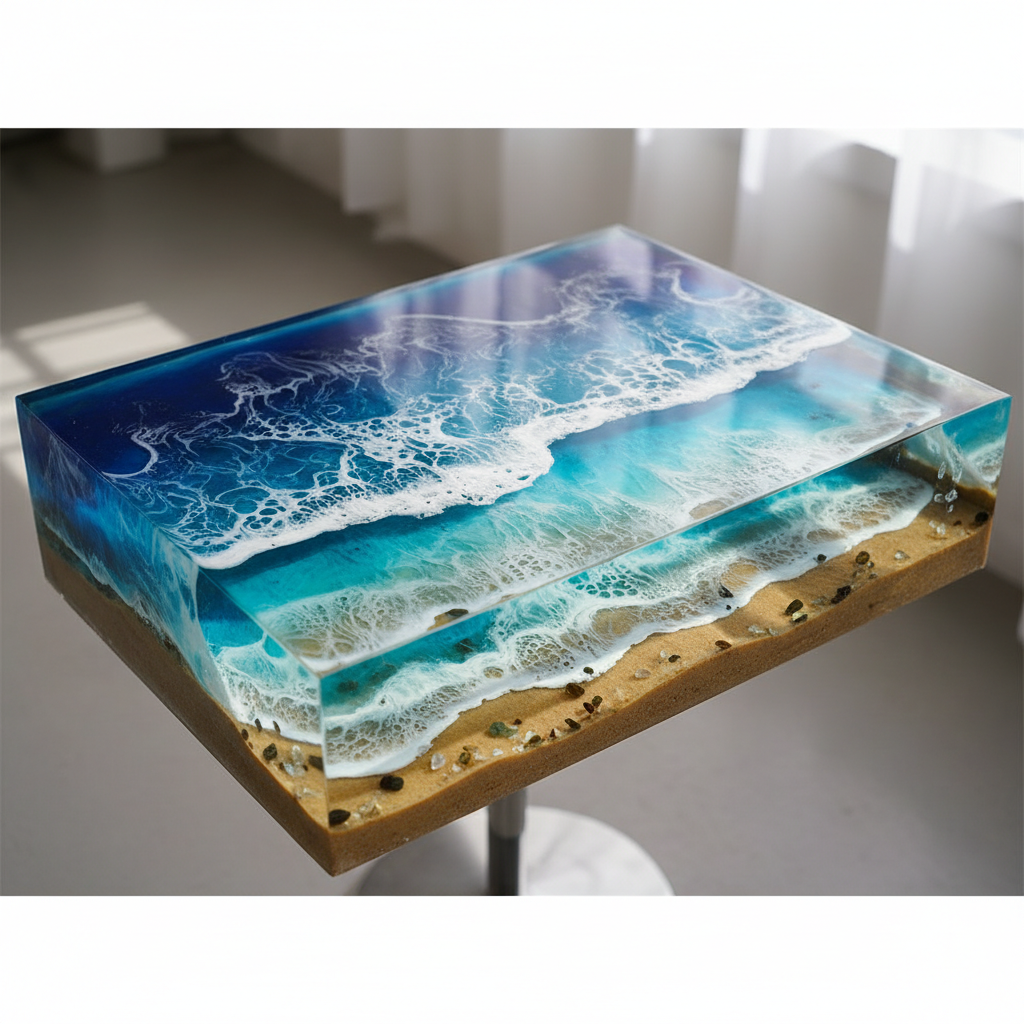
Creating Ocean and Beach Art
One of the most popular forms of art with epoxy resin is creating realistic ocean scenes. This involves layering different shades of blue, pouring a sandy shore (often using real sand), and then creating white lacing for waves. The waves are made by pouring a thin line of white resin and using a heat gun to push it over the blue layers, mimicking the look of sea foam. This technique showcases the dynamic potential of epoxy resin use.
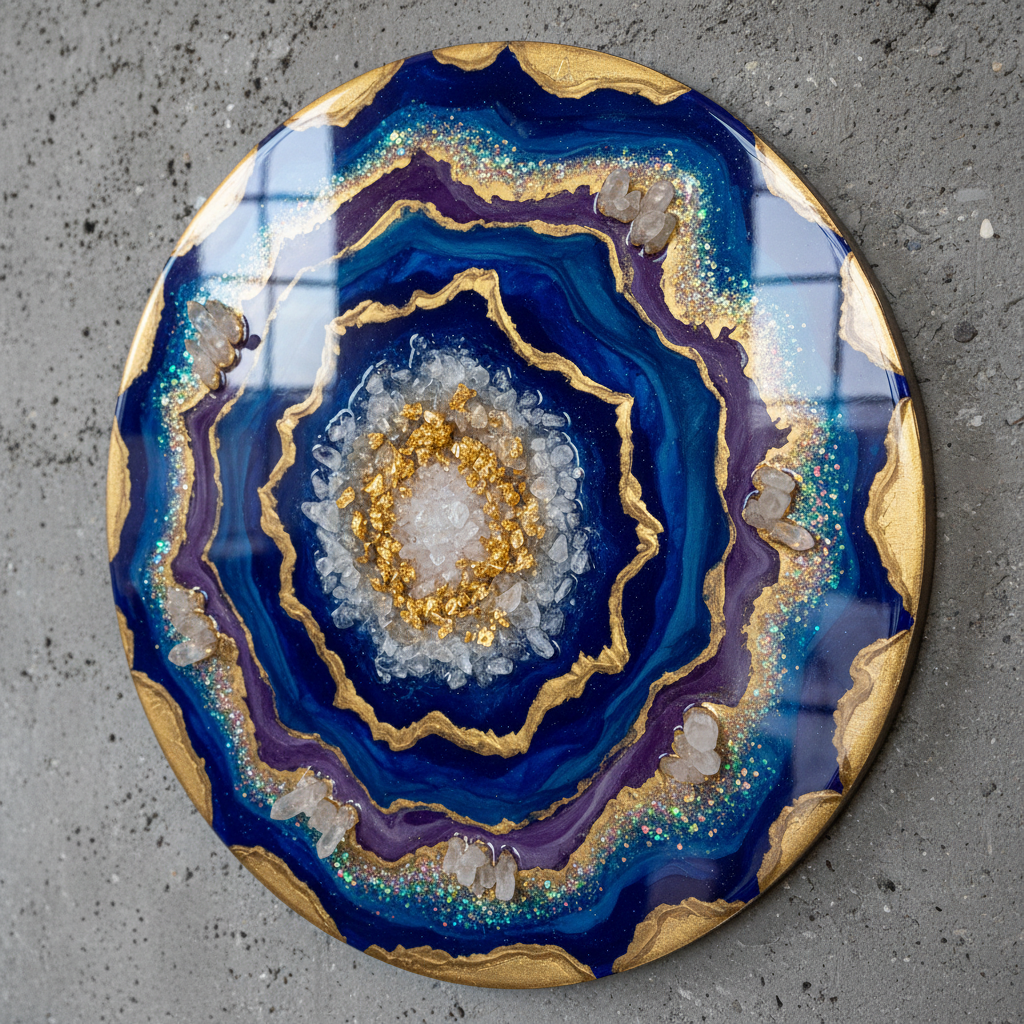
Geode and Agate Inspired Designs
To create geode art, you use mica powders, glitter, and sometimes real crystals or fire glass to replicate the look of natural agate slices. Pour concentric rings of colored resin into a mold or onto a panel, adding lines of glitter or metallic pigments to define the layers. The depth and sparkle achieved with this technique are truly captivating. This is a sophisticated application of epoxy resin in art.
Embedding and Preservation
Epoxy resin in art is also an excellent medium for preservation. You can encapsulate objects like dried flowers, photographs, insects, or even small trinkets within the resin. For this, a casting resin is typically used, poured in multiple thin layers to avoid trapping air bubbles around the object. This method creates beautiful, three-dimensional keepsakes. For those exploring epoxy resin art for beginners, embedding small, flat objects is a great way to start.
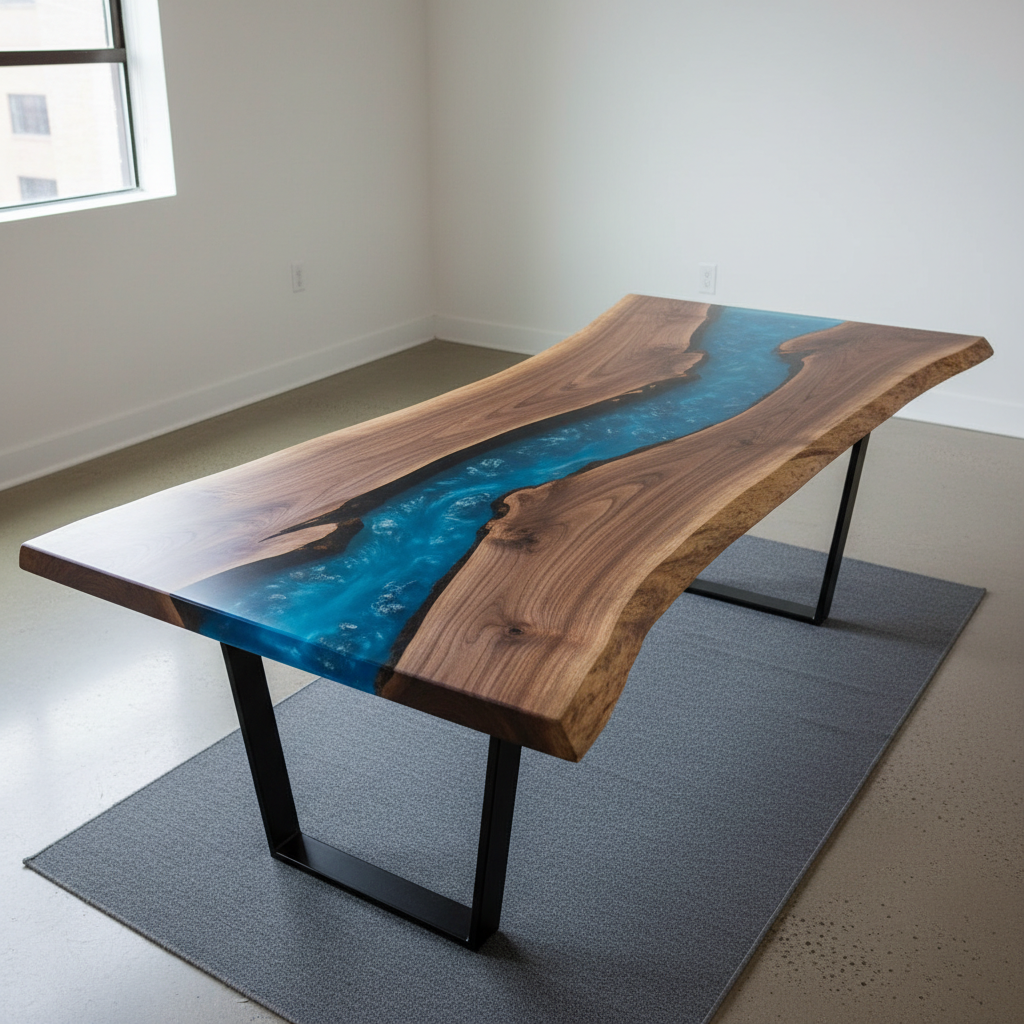
Wood and Resin Combinations
Combining wood with epoxy resin has become a signature style in modern furniture and decor, particularly for pieces like the “river table.” The natural, organic beauty of wood paired with the sleek, often colorful resin creates a stunning contrast. This advanced technique requires woodworking skills but produces breathtaking results, demonstrating a high-level application of epoxy resin in art.
The more you practice, the more confident you will become in exploring these methods. The journey with epoxy resin for resin art is one of continuous learning and discovery.
Troubleshooting Common Issues
Even experienced artists encounter issues. Here’s how to troubleshoot some common problems when working with epoxy resin:
- Sticky or Soft Spots: This is almost always due to inaccurate measuring or improper mixing. Unfortunately, it cannot be fixed once cured. The only solution is to scrape off the uncured resin and pour a new coat. This highlights the importance of precision in epoxy resin use.
- Amine Blush: This is a waxy film that can appear on the surface during curing, often caused by humidity or cool temperatures. It can be washed off with warm, soapy water and a sponge. Ensure the piece is completely dry before adding another coat.
- Too Many Bubbles: Bubbles are caused by over-mixing, cool temperatures, or pouring onto a porous surface that wasn’t sealed first. Always seal porous materials like wood or canvas with a thin coat of resin before your main pour.
- Uneven Surface: This happens if your work surface is not perfectly level. Always use a level to check before you pour. Minor imperfections on a cured piece can sometimes be sanded down and recoated.
Understanding these potential pitfalls is a key part of mastering epoxy resin art for beginners. Every mistake is a learning opportunity on your path to creating stunning art with epoxy resin. The journey of using epoxy resin in art involves both triumphs and learning experiences. The consistent use of epoxy resin in art will build your skills over time.
Conclusion
Creating art with epoxy resin is an exciting and fulfilling endeavor that blends science with creativity. From the initial measurement to the final cure, each step plays a vital role in the quality of your finished piece. By understanding the fundamentals, preparing your workspace for safety and success, and mastering the core techniques, you are well on your way to producing breathtaking works of art. Whether you are a novice exploring epoxy resin art for beginners or an experienced artist looking to refine your skills, the key is to be patient, precise, and persistent.The world of epoxy resin in art is constantly evolving, with new techniques and creative applications emerging all the time. Don’t be afraid to experiment with colors, inclusions, and methods. Embrace the learning process, and remember that every pour is an opportunity to grow as an artist. With the knowledge from this guide, you now have the foundation to start working with epoxy resin confidently and turn your artistic vision into a glossy, tangible reality. The journey into creating beautiful art with epoxy resin is yours to explore. The diverse epoxy resin use cases ensure there’s always something new to try. Let the unique qualities of epoxy resin for resin art inspire your next masterpiece.
Frequently Asked Questions
1. What is the best type of epoxy resin for beginners?
For those new to resin art, it’s best to start with a coating resin that has a 1:1 mixing ratio by volume. These are generally more forgiving, have a good working time (around 30-40 minutes), and are formulated to self-level and release bubbles easily. Look for products specifically marketed as “art resin” or “for artists,” as they are designed for clarity and UV resistance.
2. Why is my finished resin piece sticky or bendy?
A sticky or bendy finish is almost always caused by one of two issues: incorrect measurement of the resin and hardener or inadequate mixing. It is crucial to measure the two parts precisely according to the manufacturer’s instructions and to mix them thoroughly for at least 3-5 minutes, scraping the sides and bottom of the cup as you go. Unfortunately, once cured this way, it cannot be fixed and the uncured resin must be removed.
3. How can I avoid air bubbles in my epoxy resin art?
To minimize bubbles, mix the resin and hardener slowly and deliberately. When pouring, do so from a low height to prevent introducing air. After pouring, use a heat gun or torch held a few inches from the surface to pop any bubbles that rise. Also, sealing porous surfaces like wood or canvas with a thin initial coat of resin can prevent trapped air from releasing into your main pour.
4. What safety precautions should I take when working with epoxy resin?
Safety is essential. Always work in a well-ventilated area to avoid inhaling fumes. Wear personal protective equipment (PPE), including nitrile gloves to protect your skin, safety glasses to shield your eyes from splashes, and a respirator with organic vapor cartridges to protect your lungs.
5. How do I add color to my epoxy resin?
You can color epoxy resin using several types of colorants, including mica powders for a shimmery effect, alcohol inks for a translucent and wispy look, and opaque liquid pigments for solid color. Only use colorants specifically designed for resin, as others (like acrylic paint) can contain water and negatively affect the curing process. Add color sparingly, as a little goes a long way.
6. What is the difference between coating resin and casting resin?
Coating resin is thicker and designed to be poured in thin layers (usually up to 1/8 inch), making it ideal for sealing artwork, creating coasters, or coating countertops. Casting resin is much thinner, has a longer cure time, and can be poured in thick layers, which is perfect for projects like embedding flowers in blocks, filling deep molds, or creating river tables.
7. How long does it take for epoxy resin to fully cure?
Curing times vary by brand and resin type. Generally, resin will be hard to the touch within 24 to 72 hours. However, a full, hard “cure” where the resin reaches its maximum hardness and durability can take anywhere from 7 to 30 days. Avoid placing heavy objects on the piece until it has fully cured.
8. Can I pour epoxy resin over a painting or photograph?
Yes, you can pour resin over paintings and photos to create a protective, high-gloss finish. For paintings (like acrylics), ensure they are completely dry. For photographs, it is vital to seal them first with a clear sealant (like Mod Podge) on both sides to prevent the resin from seeping in and creating dark spots. Always do a small test first if you are unsure.